
How to edit AI video into a finished short film
Generated clips are raw footage, not shots. This lesson covers the edit that turns them into a film: what to trim, how to pace and match the cut, and how to export and label it for YouTube, TikTok and Reels.
Updated · 9 min read · By the PromptLab team
The short version
- Treat every generated clip as raw footage: most of the time you use its best two to four seconds, not all five.
- Trim heads and tails first. The opening frames and the last second are where AI clips most often stall, drift or lose the subject.
- Cut on movement and lay one ambience bed across the cuts; both hide the fact that each shot is a separate generation.
- Clips from different models arrive with different looks, sizes and shapes. Balance each one, then put one grade over the whole film.
- Export to each platform's current spec and use its AI label for realistic content. PromptLab's Composition node is a fast assembly; frame-accurate trims, color and titles belong in an editor.
In this guide
The AI video editing workflow, start to finish
This is the final lesson of the free course Make a short film with AI: you have rendered shots and a soundtrack, and now you cut them into a film.
Editing AI footage is ordinary editing with a few extra failure modes. The order of work matters, because every step depends on the one before it. Color-grading a shot you later cut is wasted effort; mixing sound before the picture is locked means mixing twice.
Organize
Name every file by shot number and take (S07_T2) and keep a sheet with the prompt, model and cost of each. You will need it for retakes and for disclosure questions later.
Assemble
Drop the best take of each shot onto the timeline in script order, untrimmed. Watch it once.
Rough cut
Trim heads and tails, remove shots that do not earn their place, and reorder if the story asks for it.
Fine cut
Pacing, cutting on action, continuity fixes, and a list of retakes for the shots that still fail.
Picture lock, then sound and color
Once the timing stops changing, lay in the soundtrack from the sound design lesson, match color, then add titles and captions.
Export and label
One master, then a version per platform, each with its AI-content disclosure.
Where should this happen? PromptLab's Composition node stitches your Flow's video outputs end to end into one 1920×1080 clip and mixes audio tracks with per-track gain. That is a quick way to see the whole film assembled and to deliver a simple 16:9 cut. Frame-accurate trimming, color, titles and vertical versions belong in an editor such as DaVinci Resolve, Premiere Pro or CapCut, and most of this lesson assumes you have one open.
Trim heads and tails: where AI clips go wrong
A generated clip is not a shot. It is a few seconds of footage with, usually, a good stretch in the middle. The edges are where problems cluster. The first frames can stall or settle before motion really starts, and in an image-to-video clip the first frame is simply your still. The last second is where the camera drifts past the subject, an action loops back on itself or a detail starts to melt.
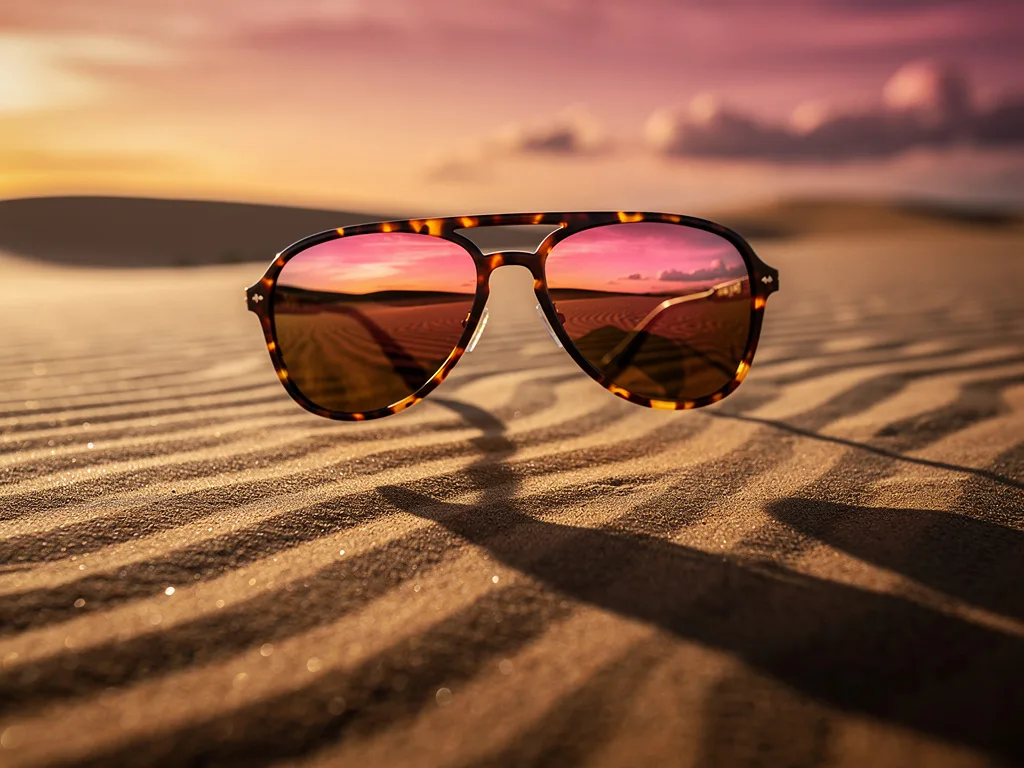
Tortoiseshell aviator sunglasses floating above rippled desert sand at dusk, the lenses reflecting a pink and orange sky, long shadow, luxury eyewear campaign, hyper-detailed
The sunglasses rotate slowly in mid-air, fine sand drifting below them, the sky colours shifting from pink to orange, product commercial
Here is what that looks like in the clips from this course, frame by frame:
| Clip | What happens at the edges | Edit decision |
|---|---|---|
| Sunglasses (PixVerse V6) | The glasses spin a full turn, the temples dip into the sand, and the clip ends close to its opening pose | Use the middle of the spin as a short insert, or the whole clip as a loop |
| Alice tea party (Veo 3.1 Fast) | For the first second, teacups sweep past the lens before the scene reads | Cut in once the hare and the pour are clear, or keep the sweep as a transition |
| Octopus barista (Seedance 2.0 Fast) | The camera pushes in until the octopus's face leaves the frame in the second half | Split it: the wide for the character, the late frames as a latte-art close-up |
| Dachshund (PixVerse V6) | The dog splashes in place rather than travelling, and near the end dips its head into the splash | Use two or three seconds from the middle |
The practical rule: generate longer than the shot you need. If the cut needs three seconds, render five and choose the best three. It costs a little more per clip and saves whole retakes. When the image-to-video first frame is your approved still, you can also use it as a match frame: cut from the still on screen to the moving clip and the transition is invisible.
Cut on action and pace the shots
The oldest editing rule is also the most useful one for AI footage: cut on action. Start a movement at the end of one shot and finish it in the next, and the eye follows the motion across the cut instead of noticing that the lighting, the lens or the model changed. A hand reaching, a head turning, a cup being set down: each gives you a cut point.
- Shorter is safer. There is no correct shot length, but the longer a generated shot holds, the more time the viewer has to spot a flaw. Hold long only on clips that survive repeated viewing.
- Vary the rhythm. A run of equal-length shots feels mechanical. Mix quick inserts with a longer establishing or emotional beat.
- Let sound lead. Start the next scene's audio a moment before its picture (a J-cut) or let a sound carry over the cut (an L-cut). Both smooth the join between separate generations.
- Cut on the music. If you chose a tempo that matches your shot lengths, cuts on the downbeat will feel deliberate.
To practice, here is an edit decision list for a ten-second vertical reel built from four PixVerse V6 clips (228 credits in total), with in and out points chosen by stepping through each clip:
| Reel time | Clip | Source in–out | Why |
|---|---|---|---|
| 0:00–0:03 | Honey | 0.5–3.5 s | The pour lands and starts running down the stack: an instant hook |
| 0:03–0:04.5 | Robot | 0.0–1.5 s | The water is still flowing; soon after, the stream thins and the robot steps around the pot |
| 0:04.5–0:07.5 | Jellyfish | 0.0–3.0 s | The whole group drifting, before the camera closes in on one bell |
| 0:07.5–0:10.5 | Dachshund | 0.5–3.5 s | Splash toward camera, out before the head dips |
Run a continuity check on AI footage
Continuity errors are the giveaway of an AI film, because each shot was generated without knowing what the previous one looked like. Watch the fine cut once just for continuity, ideally with someone who has not seen it before.
Check across every cut
- Wardrobe, hair and props match from shot to shot
- Screen direction: a character moving left to right keeps doing so
- Light comes from the same side and has the same warmth
- Eyelines meet when two characters talk
- Any text (signs, labels) reads the same everywhere
Common AI continuity breaks
- A costume that changes between shots
- Extra or missing fingers in a close-up
- Background details that appear and vanish
- A prop that switches hands
- Faces hidden by props at the moment that matters
Our own tea-party clip shows how easily this happens. The prompt asked for a hare in a brocade waistcoat; the clip delivered a red brocade dress with a white apron. Fine for a single shot, but cut it next to a shot where the hare wears a waistcoat and the audience will notice. The fix is upstream: build start frames from the same character references, as covered in the consistent characters lesson, and re-render the shot rather than hoping the cut hides it.
Match color across clips from different models
Every model has a default look. Put three of them side by side and the differences are obvious: warm gold, cool pastel, low-key amber. In one film they need to read as one world.
- Balance each clip first. Neutralize white balance and set exposure shot by shot, so the starting points are comparable.
- Match to a hero shot. Pick the shot that best represents the film and match the others to it: skin tones, then shadows, then highlights.
- Apply one look over everything. A single grade on an adjustment layer or the timeline ties the shots together. A light, consistent film grain helps too, because it gives every clip the same texture.
- Grade gently. Heavy contrast and sharpening exaggerate compression and generation artifacts. If a clip needs a drastic grade to match, re-rendering it with a better start frame is often faster.
The cheapest color matching happens before you render: the same style words, light and palette in every prompt, and start frames built from the same style references.
Titles, captions, upscaling and frame rate
Titles and captions. Add them in the editor, not in the generation prompt; video models still garble text. Burn captions into social cuts and upload a caption file for YouTube. Keep all text away from the edges of vertical frames, where the app interface sits.
Frame sizes. Expect mixed footage. The ten clips in this course all arrived at 24 fps, but in five different frame sizes, from 1280×720 to 720×1280. The three image-to-video clips came back in the shape of their start frames (roughly 4:5 and 4:3), not 16:9. Set your timeline to the delivery format first, then decide per clip whether to crop, scale or reframe. That is why the planning lesson fixes the aspect ratio before any start frame is made.
Frame rate. Keep the timeline at the rate your clips were generated at, usually 24 fps for cinematic footage, and export at the same rate. Converting to 30 or 60 fps with frame interpolation can add warping around fast motion, so check every converted shot carefully.
Upscaling. Several clips in this course came back at 720p. If you need 1080p or 4K, upscale the final, trimmed selects only, with your editor's super-resolution feature or a dedicated video upscaler. Upscaling sharpens detail and artifacts alike, so review the result at full size.
Export settings for YouTube, TikTok and Reels
Export one high-quality master first, then a version per platform. YouTube publishes its recommended upload settings; for TikTok and Instagram, the values below are the commonly used ones. Check each platform's help pages before a launch, because limits change.
| Platform | Frame | File | Notes |
|---|---|---|---|
| YouTube | 16:9, 1920×1080 or 3840×2160 | MP4, H.264 High Profile, about 8 Mbps for 1080p at 24–30 fps; AAC-LC audio, 48 kHz, 384 kbps stereo | Upload at the frame rate you edited in |
| YouTube Shorts | 9:16, 1080×1920 | Same codec settings as above | The AI label appears as an overlay on Shorts |
| TikTok | 9:16, 1080×1920 | MP4 or MOV, H.264 with AAC audio | Keep text and faces clear of the top and bottom of the frame |
| Instagram Reels | 9:16, 1080×1920 | MP4, H.264 with AAC audio | Leave roughly 250 px free at the top and bottom, and room for the icons on the right |
For audio, deliver the loudness you mixed to in the previous lesson (around -14 LUFS integrated). Watch each export on a phone before posting.
How to label AI video on YouTube, TikTok and Meta
All three major platforms ask creators to disclose realistic AI-generated content. The rules as of October 2026:
- YouTube requires you to disclose realistic altered or synthetic content in YouTube Studio: a real person appearing to say or do something they did not, altered footage of real events or places, or realistic scenes that never happened. Since a May 2026 update, the label sits under the player on long-form videos and as an overlay on Shorts, and YouTube can apply it automatically when its systems detect significant photorealistic AI. Clearly unrealistic or animated content gets its disclosure in the expanded description instead.
- TikTok asks creators to label realistic AI-generated content with its AI-generated label, and can label uploads automatically when they carry C2PA Content Credentials.
- Facebook and Instagram require disclosure of photorealistic video or realistic audio that was digitally created or altered, shown as an "AI info" label, and Meta can add the label itself when it detects industry-standard signals.
A surreal tea party may not strictly need a label; a realistic AI ad usually does. When in doubt, label it: it costs nothing, and platforms can penalize realistic content that should have been disclosed. Ads have their own rules on each platform, so check the advertising policies too.
Made with AI. Images: [image models]. Video: [video models]. Voice: [voice model]. Music: [music model]. Edited in [editor].
Final checklist before you publish
Watch it once without stopping
Note every moment your attention slipped. Those are pacing problems.
Step through every cut
Look for a stalled first frame, a melting last frame, a continuity break or a flash frame.
Listen with your eyes closed
Every word understandable, no music fighting the voice, no ambience holes at the cuts.
Check text at 100%
Titles, captions and any on-screen signs spelled correctly and inside the safe area.
Export, then watch the export on a phone
Right frame, right length, captions readable, loudness consistent with other videos.
Disclose and credit
Platform AI label where it applies, and the tools listed in the description.
That is the whole course: from a one-line idea to a planned, rendered, scored and edited short film. Go back to the course page to revisit any lesson, or browse the guides on prompting, product shots and social video for your next project.
Questions people ask
How do you edit AI-generated video?+
Treat each clip as raw footage: assemble the best takes in script order, trim the unstable first frames and last second, cut on action, check continuity, then add sound, match color, add titles and export per platform.
What is the best editor for AI video?+
Any standard editor works. DaVinci Resolve has a free version with strong color tools, Premiere Pro suits teams already using Adobe, and CapCut is quick for vertical social cuts with captions.
What export settings should I use for YouTube?+
YouTube recommends MP4 with H.264 High Profile at the frame rate you edited in, about 8 Mbps for 1080p at 24 to 30 fps, and AAC-LC audio at 48 kHz. Mix the audio to around -14 LUFS integrated.
Do I have to label AI-generated videos on YouTube and TikTok?+
Both platforms require creators to disclose realistic AI-generated or altered content, and both can apply labels automatically. Clearly unrealistic or animated content is treated more leniently, but labeling when in doubt is the safe choice.
Should I convert AI video from 24 fps to 30 or 60 fps?+
Usually not. Edit and export at the rate the clips were generated at, often 24 fps, which all major platforms accept; frame interpolation can add warping around fast motion.
Keep learning
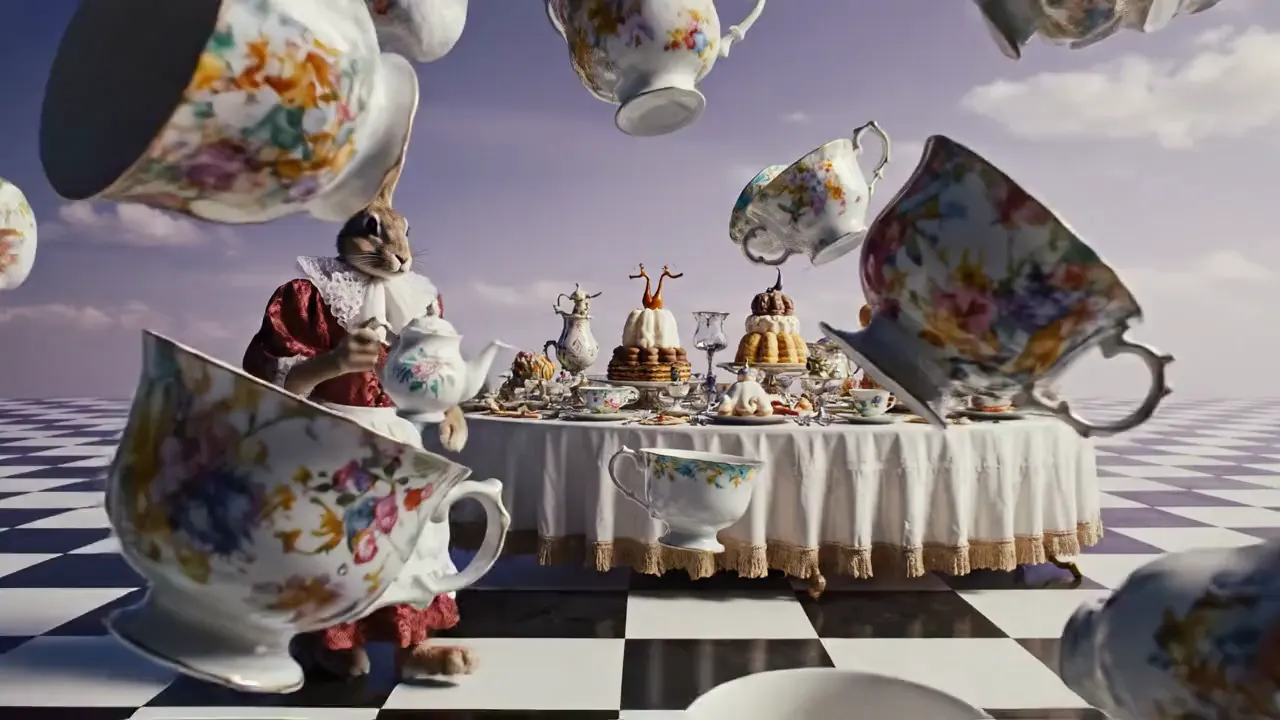
AI sound design: how to add voice, music and effects to AI video
A silent clip looks like a demo; the same clip with room tone, a voice and a music bed looks like a film. Here is how to build each layer of an AI soundtrack and mix them so the cut feels finished.
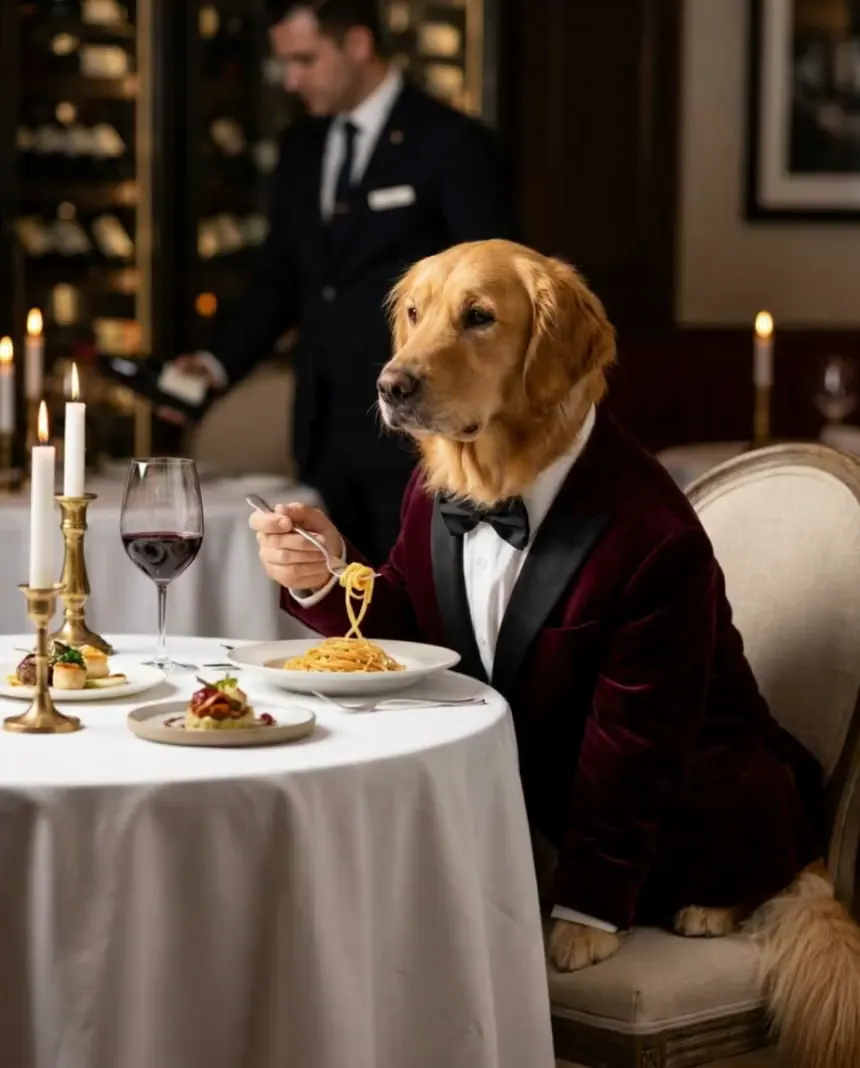
Image to video prompts: direct the motion, not the picture
Lesson 3 of the free course. Your start frame already decides the shot. Here is how to write the motion prompt: one camera move, one action, an end state, and the vocabulary to direct it.
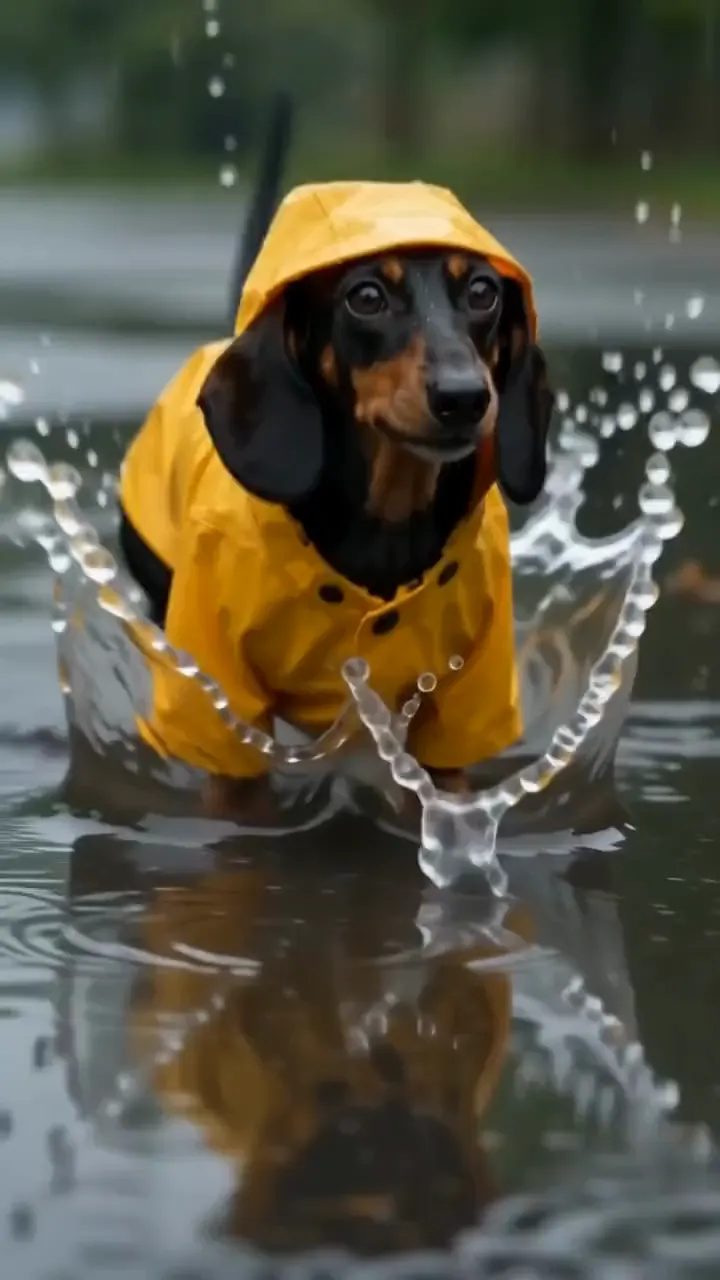
AI video ads: how to make vertical ads and UGC-style content that stop the scroll
A practical playbook for short vertical ads made with AI video models: what a hook needs in the first second, how to generate ten variants on an inexpensive model, how to test them, and where the legal lines are for UGC-style ads.
Run these prompts on every model, side by side.
PromptLab puts Flux, Nano Banana, Kling, Veo, Seedance and dozens more in one workspace. See the cost before you click, keep the prompts that win.